Add new staff to your Kanamé account, set what they can see and do, and remove team members when they leave. Admin or owner-level access required.
Where to find it
Settings → My Staff
This is the only place team members are managed in Kanamé. Adding someone here gives them their own login.
 Settings → My Staff panel
 Add a new team member
- Go to Settings → My Staff.
- Click + Add Employee (top right).
- Fill in first name, last name, and email. The email becomes their login.
- Choose their role: Admin or User (see roles below).
- Set permissions — which sections of the platform they can see (see permissions below).
- Click Save. When you save, Kanamé automatically sends them a welcome email with their login and a link to set their password. They can log in immediately.
 Add Employee dialog with role + permissions
 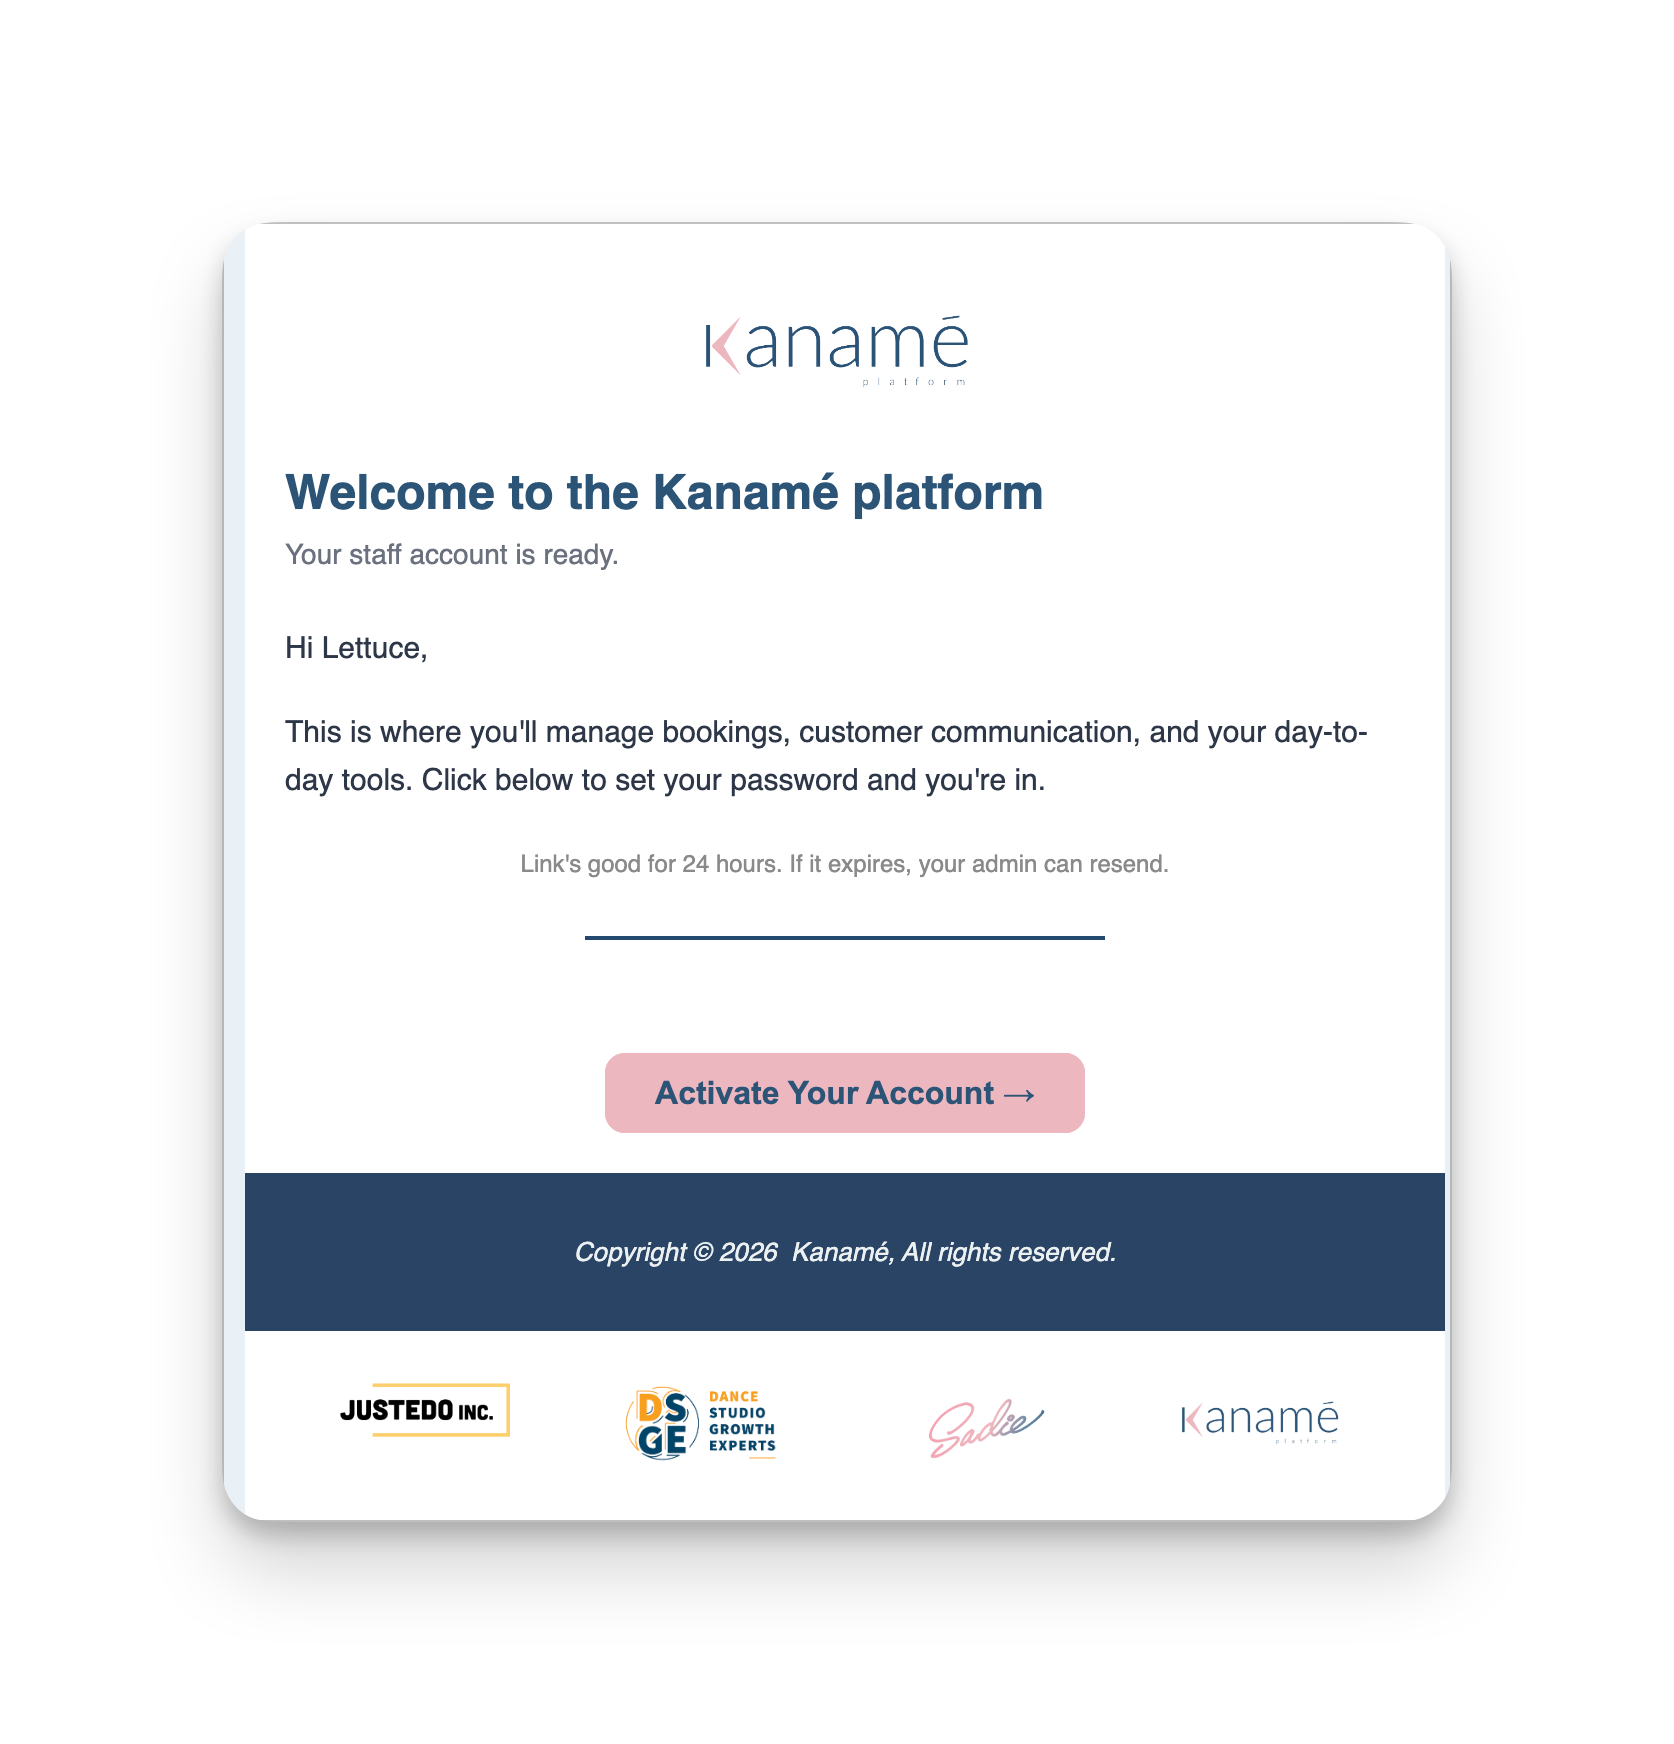 The welcome email Kanamé sends new staff
 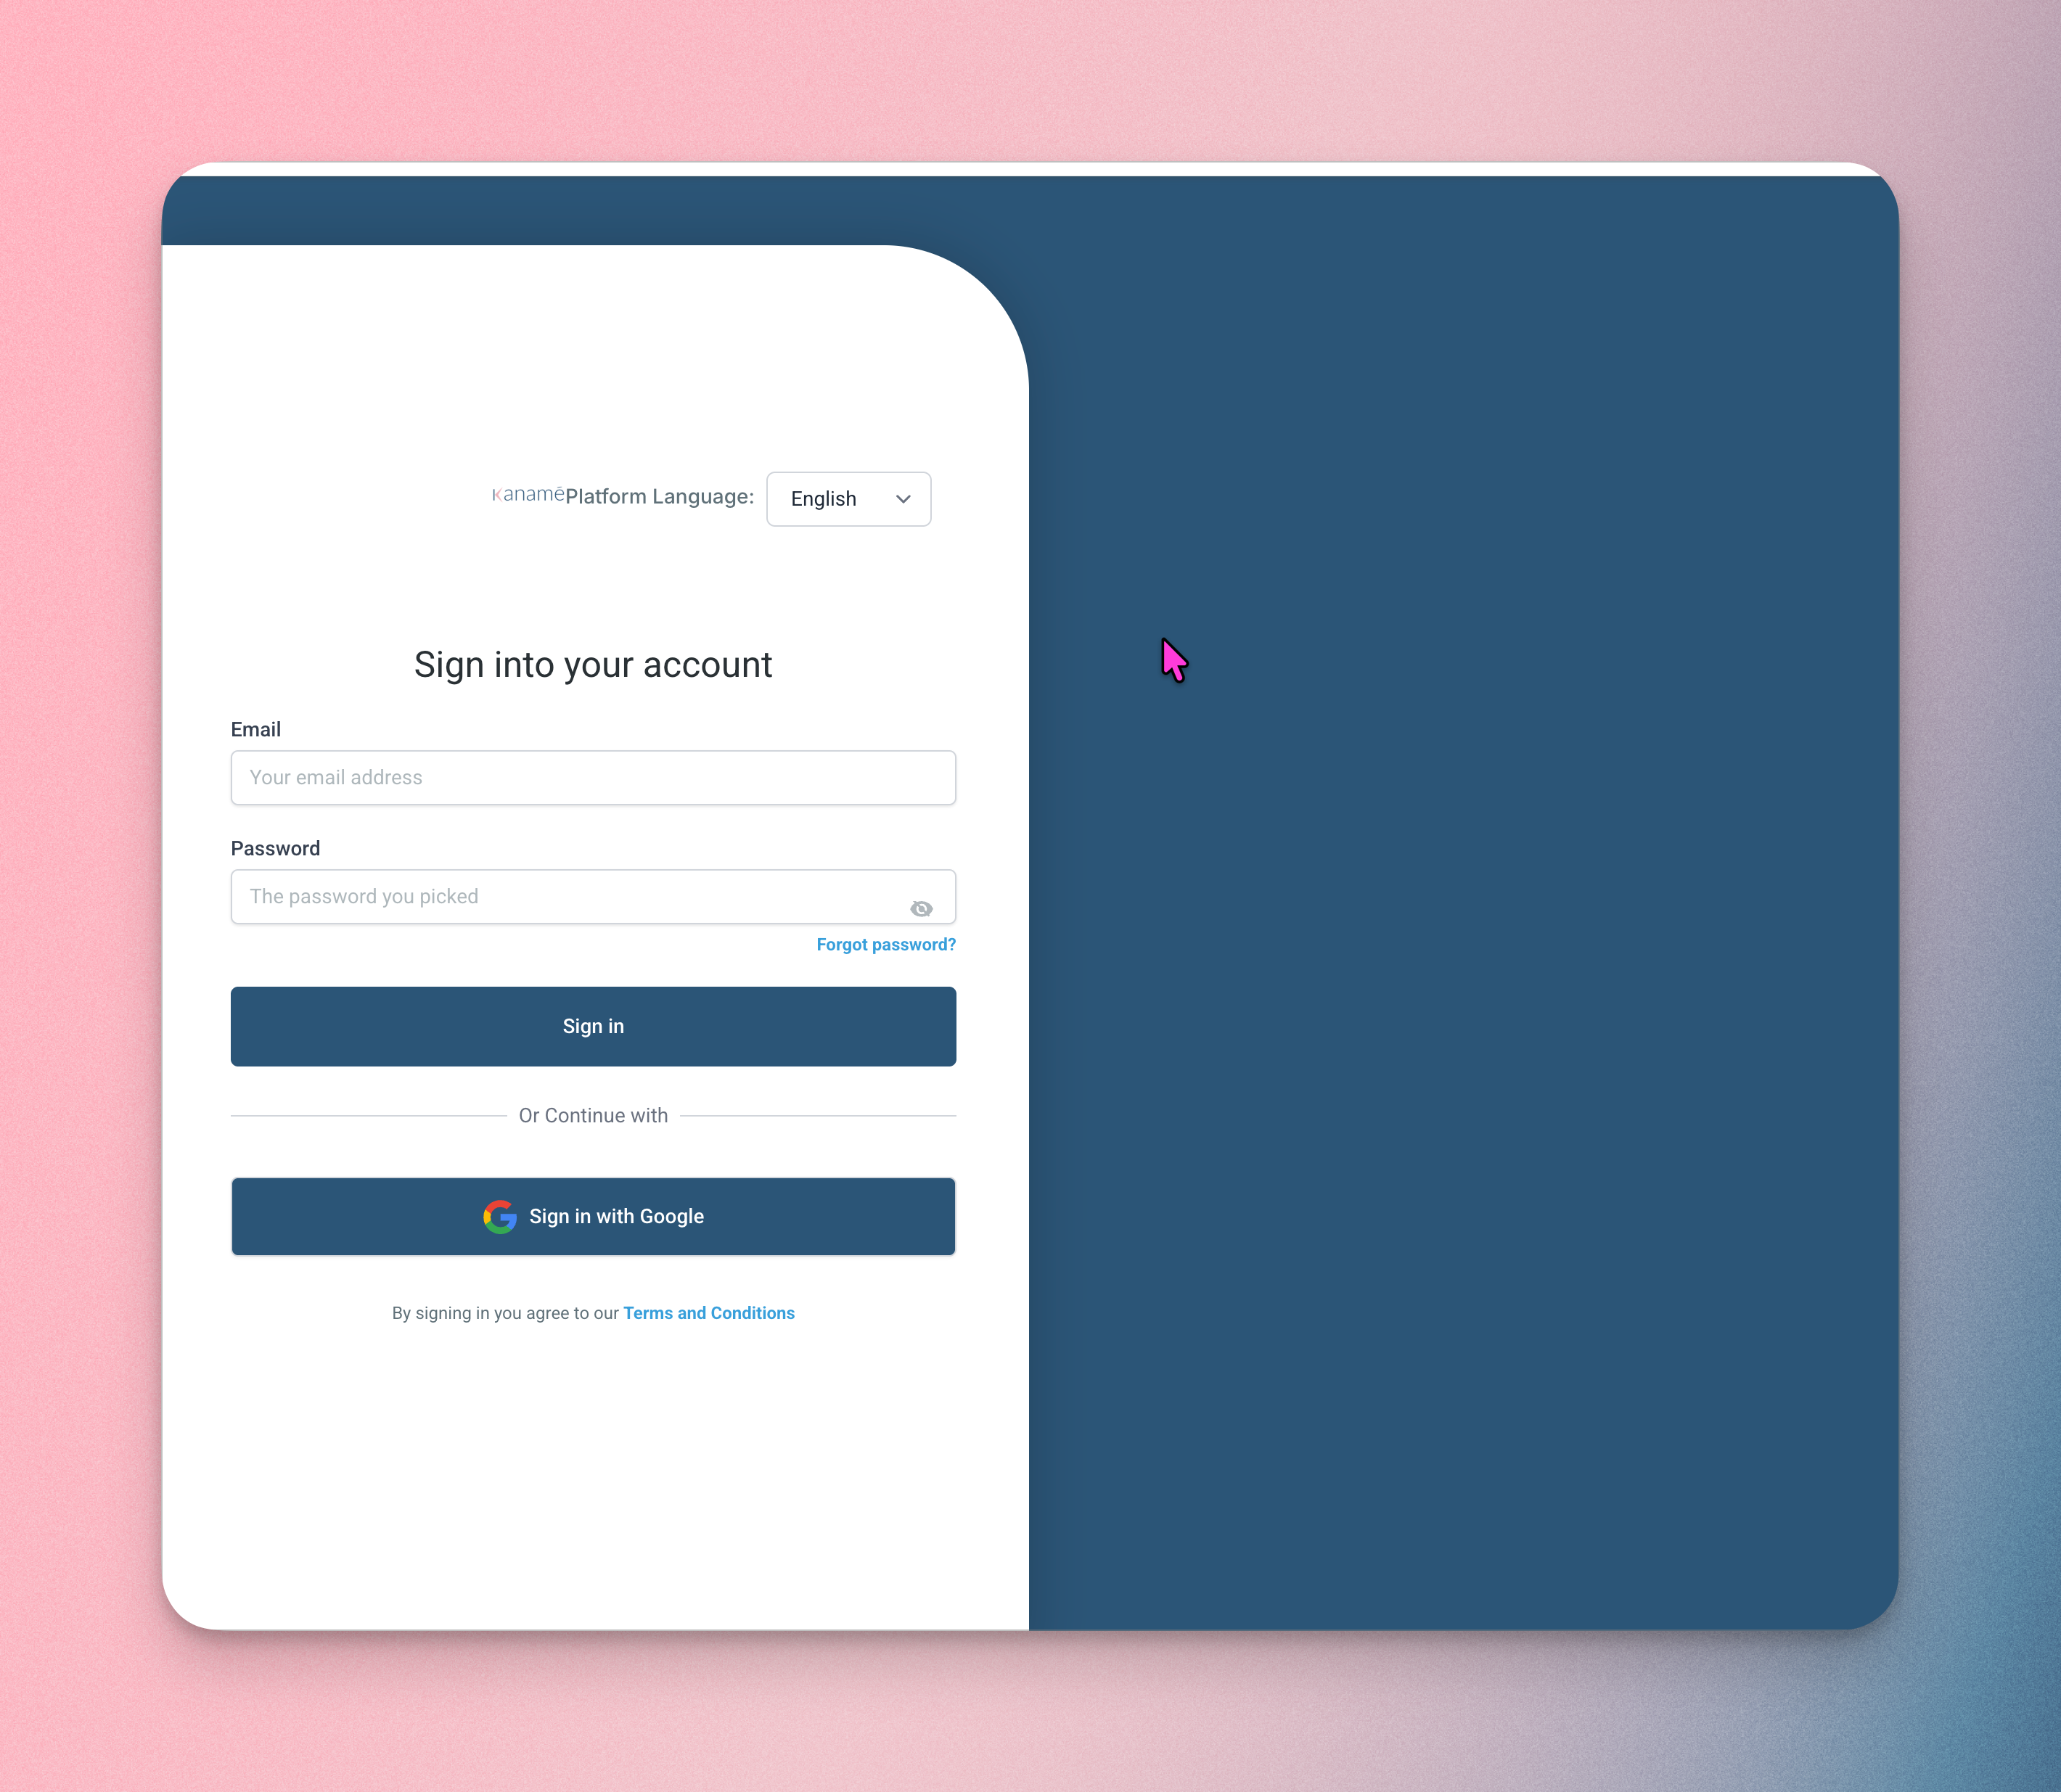 What new staff see when they click the welcome link
 The two roles
Admin
Full access to everything in the sub-account — settings, billing, all contacts, all conversations, all team members. Use sparingly.
User
Restricted access. You control exactly what they see using the permission toggles below. Most staff should be Users.
Permissions — what each toggle controls
Permissions are on/off switches for each major section of the platform. The big ones:
- Contacts — see and edit your client list
- Conversations — read and send messages (SMS, email, chat)
- Calendars — see appointment calendars and book on behalf of clients
- Opportunities — see deal pipelines and move records through stages
- Payments — see invoices, products, and payment history
- Marketing — send email campaigns, schedule social posts, run automations
- Workflows — build and edit automation flows
- Forms — create and edit forms
- Funnels & Websites — edit pages on your site
- Reporting — see business performance dashboards
- Settings — change account-wide settings (give carefully) Anything turned off is hidden from that user’s sidebar.
”Only Assigned Data” — for limiting visibility
There’s a toggle called Only Assigned Data. When on, the user only sees:
- Contacts where they’re listed as the assigned user
- Opportunities they own
- Appointments and tasks linked to their name Turn this on for staff who should only see their own pipeline (e.g. a sales rep who shouldn’t see colleagues’ deals). Turn it off for front desk or managers who need the full picture.
Copy permissions from another user
If you’ve already set up someone with the right permissions, click Copy Permissions when adding the next person and pick the existing user. Saves you toggling 30+ switches by hand.
This is the fastest way to onboard staff in the same role (e.g. all groomers, all front desk, all sales reps).
Edit an existing team member
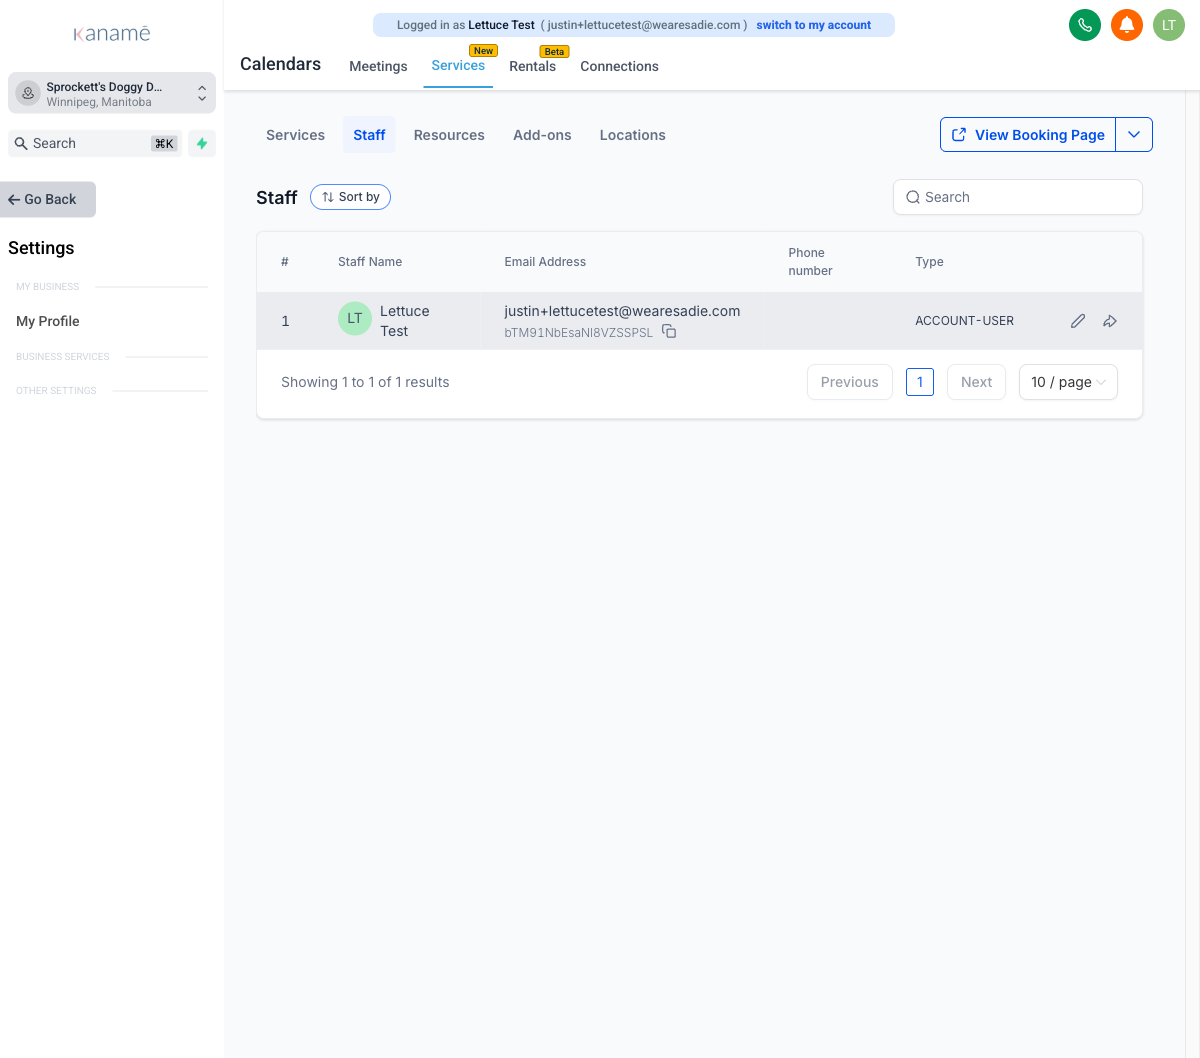
- Go to Settings → My Staff.
- Find the person in the list.
- Click the pencil icon next to their name.
- Change role, permissions, email, name, or phone.
- Click Save. Most changes take effect immediately. The user does not need to log out and back in.
 Editing a staff profile — name, email, role
 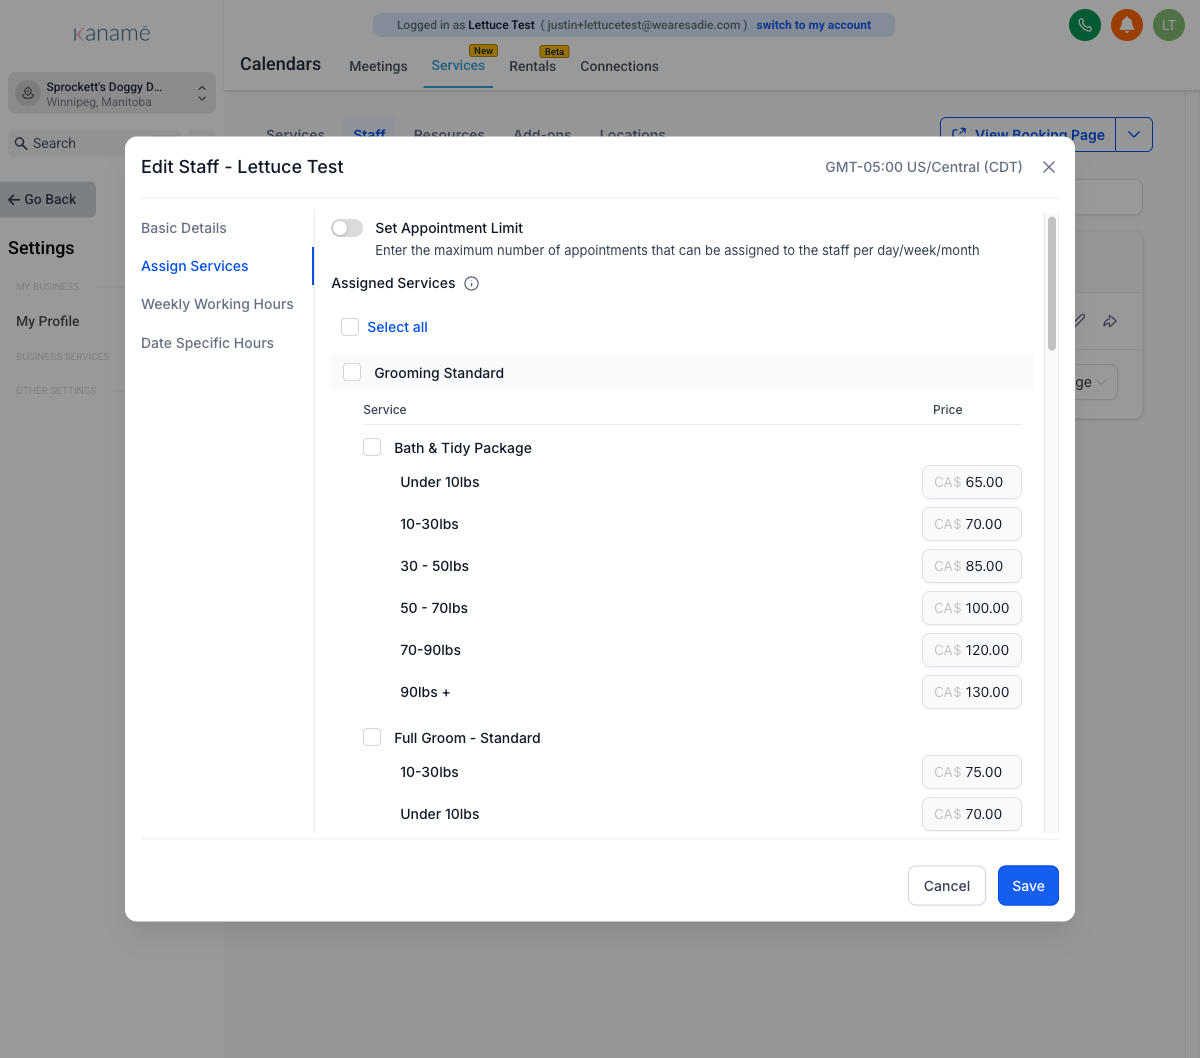 Assigning a team member to services / calendars
 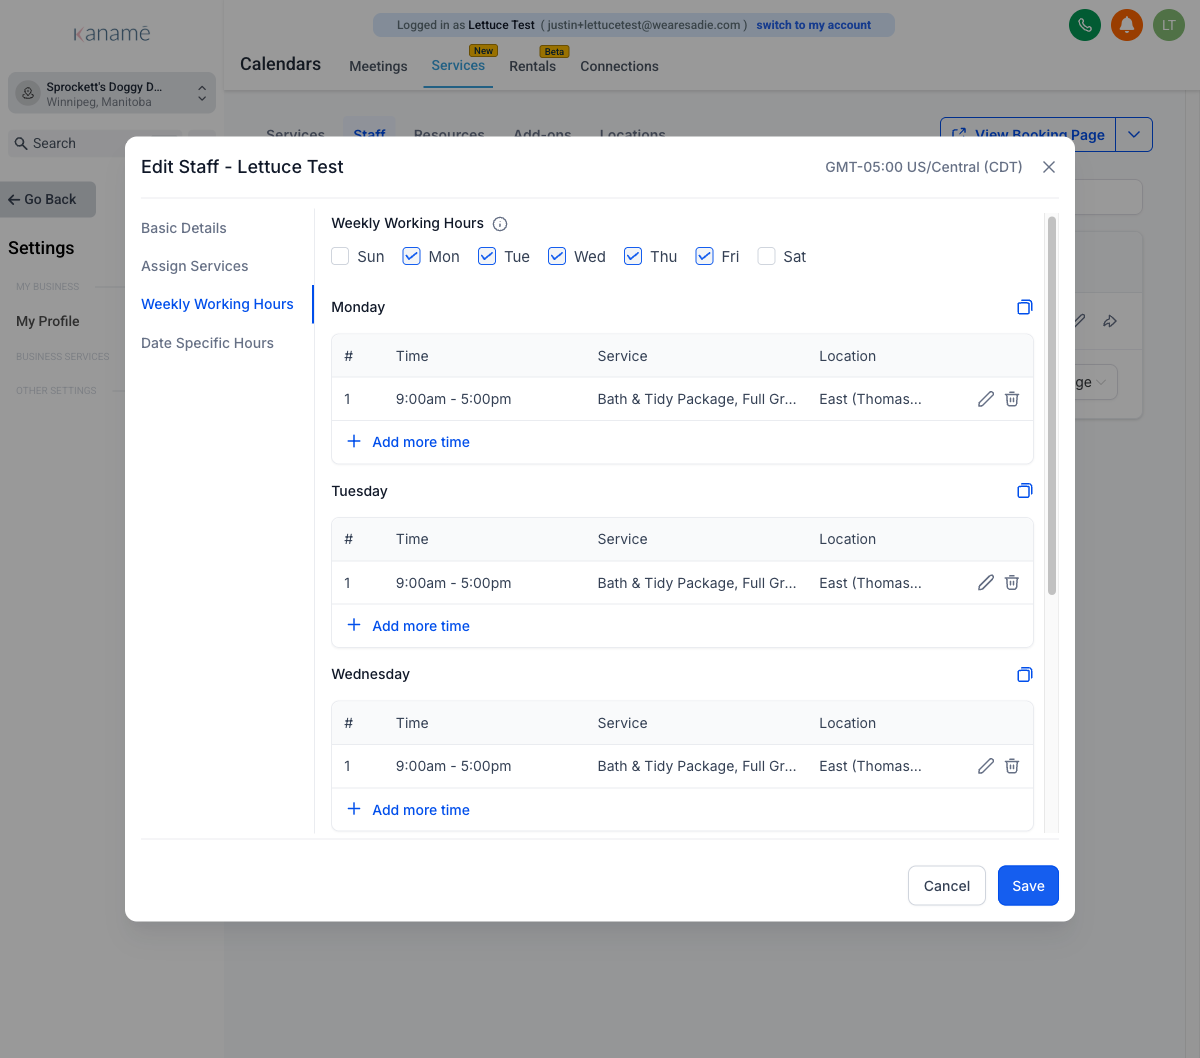 Setting weekly working hours
 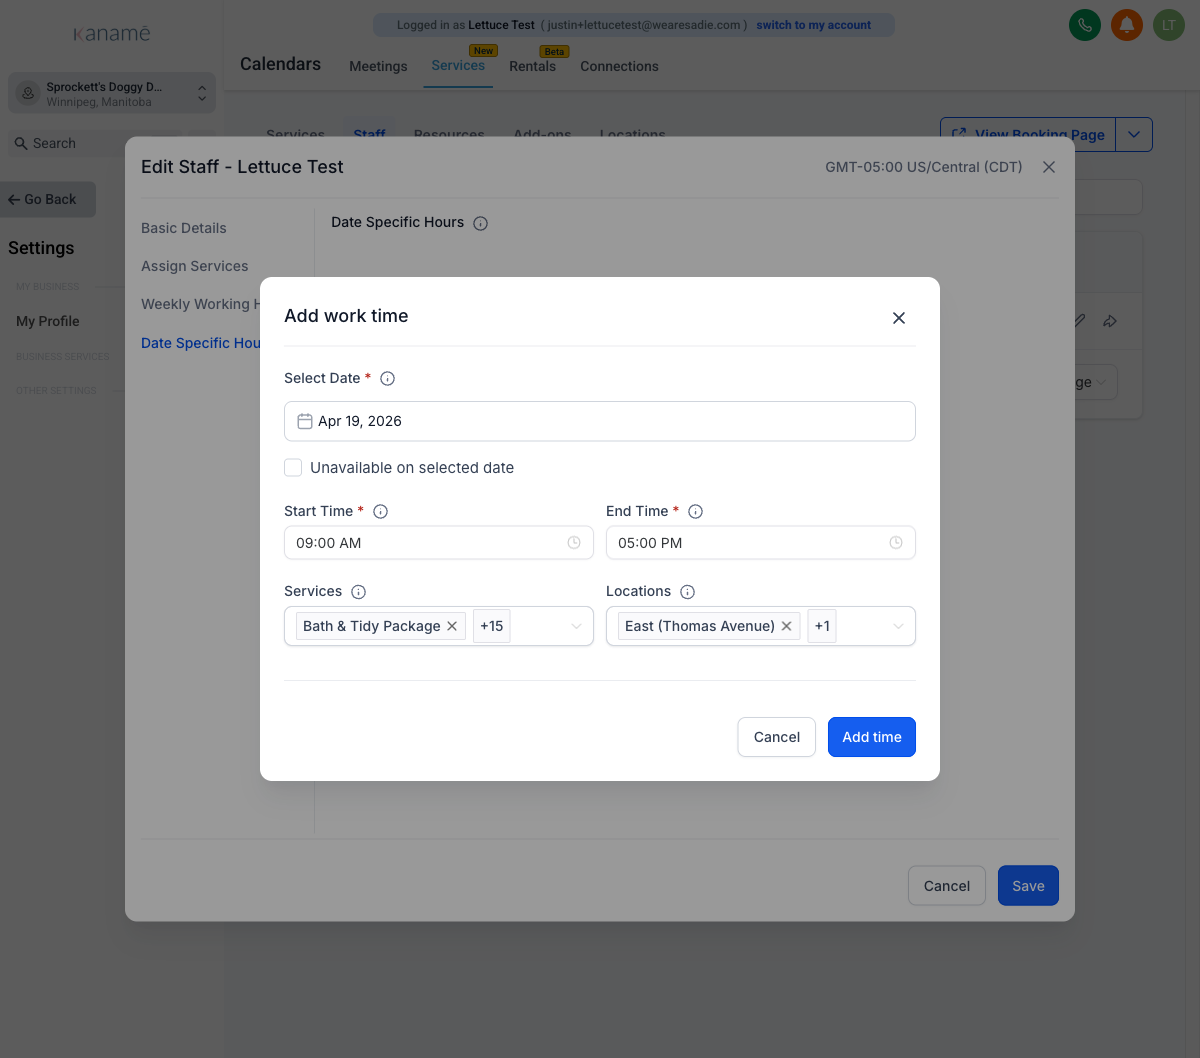 Adding date-specific hours or time off
 Remove a team member
- Go to Settings → My Staff.
- Find the person.
- Click the delete icon (trash) or use the three-dot menu.
- Confirm. What happens to their data: their historical activity — sent messages, booked appointments, signed-in contacts — stays in the system. Only their login and ability to access the account are removed.
If you’re unsure: instead of deleting, edit their permissions to remove all access. The record stays for audit purposes but they can no longer log in.
Tips and common questions
Adding a user does NOT automatically make them bookable on a calendar. If the new staff member needs to take appointments — groomers, trainers, sales staff, anyone with a personal booking link — you also need to add them as a staff member inside the relevant Calendar. That’s a separate setup step under Calendars.
Welcome email arrives within 1-2 minutes. If your new team member doesn’t see it, ask them to check spam first, then verify the email address you entered is correct.
Don’t share logins. Every team member should have their own account so activity logs and assignments work correctly. Sharing logins breaks reporting and accountability.
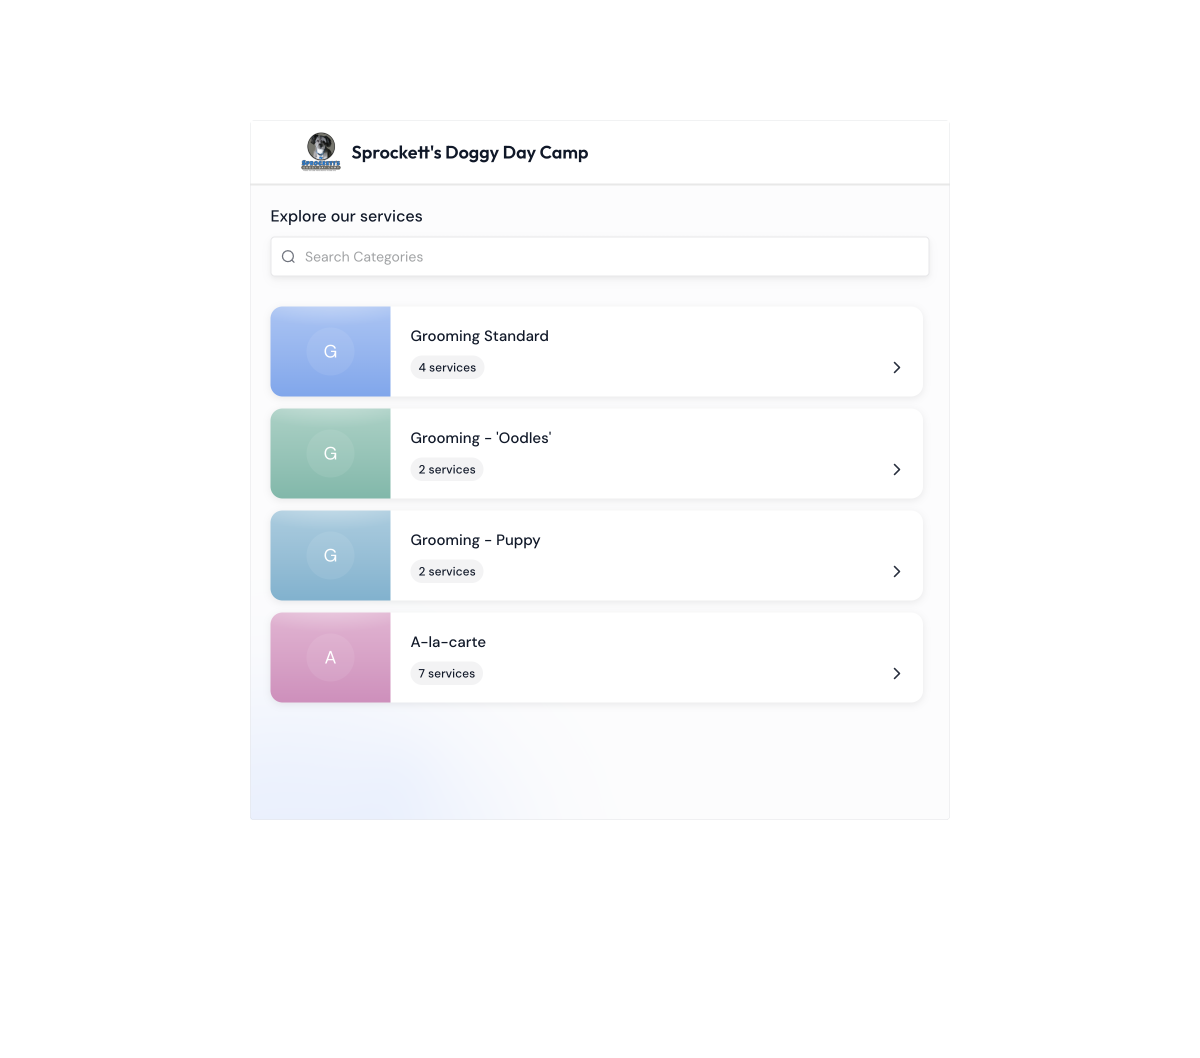 Each staff member's personal booking page
 Last verified: May 4, 2026